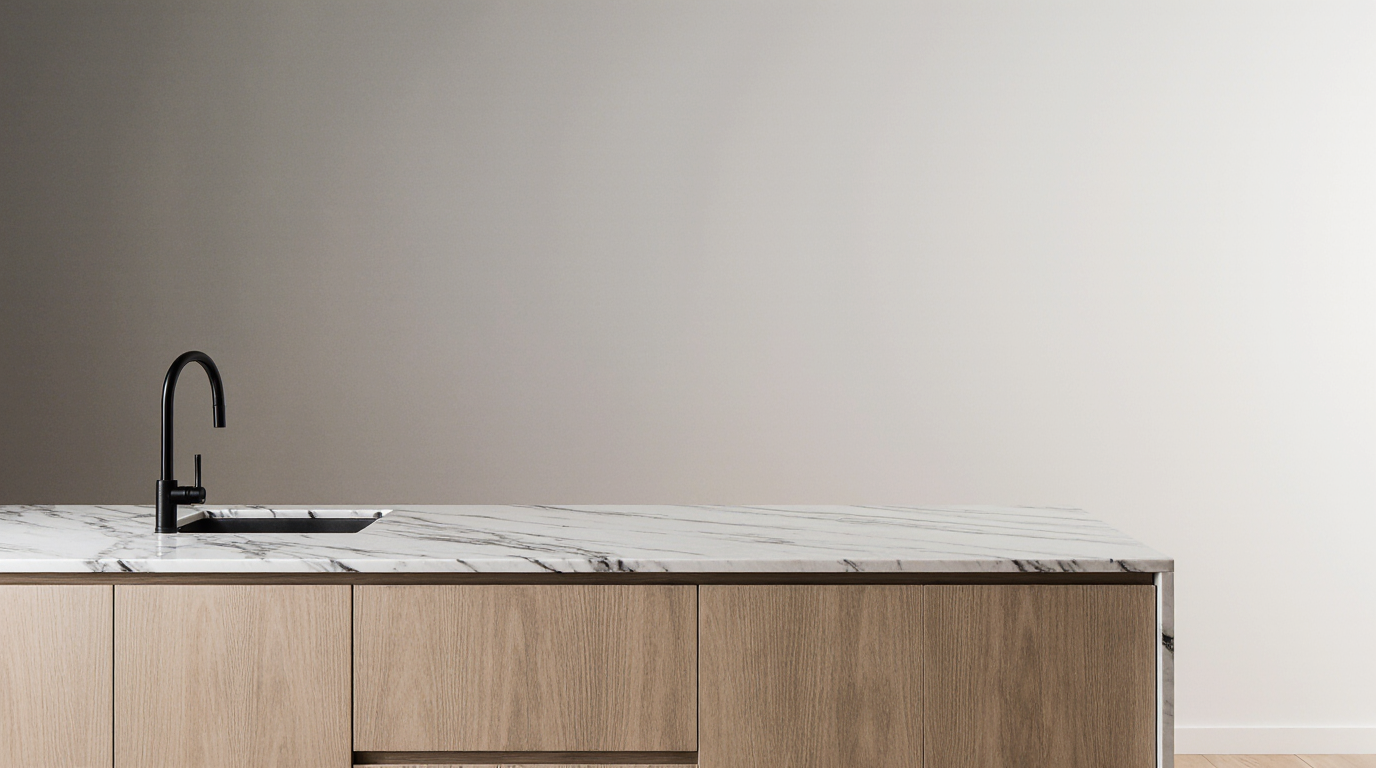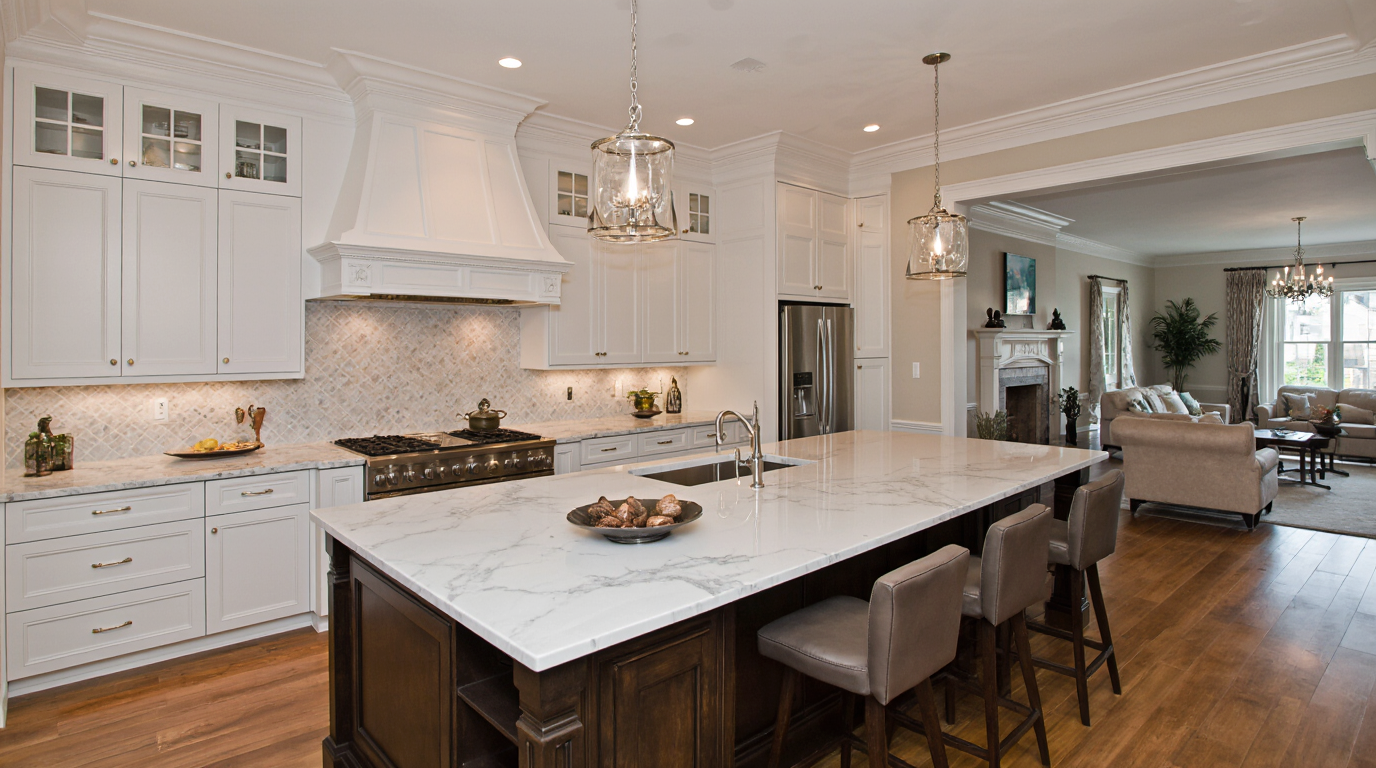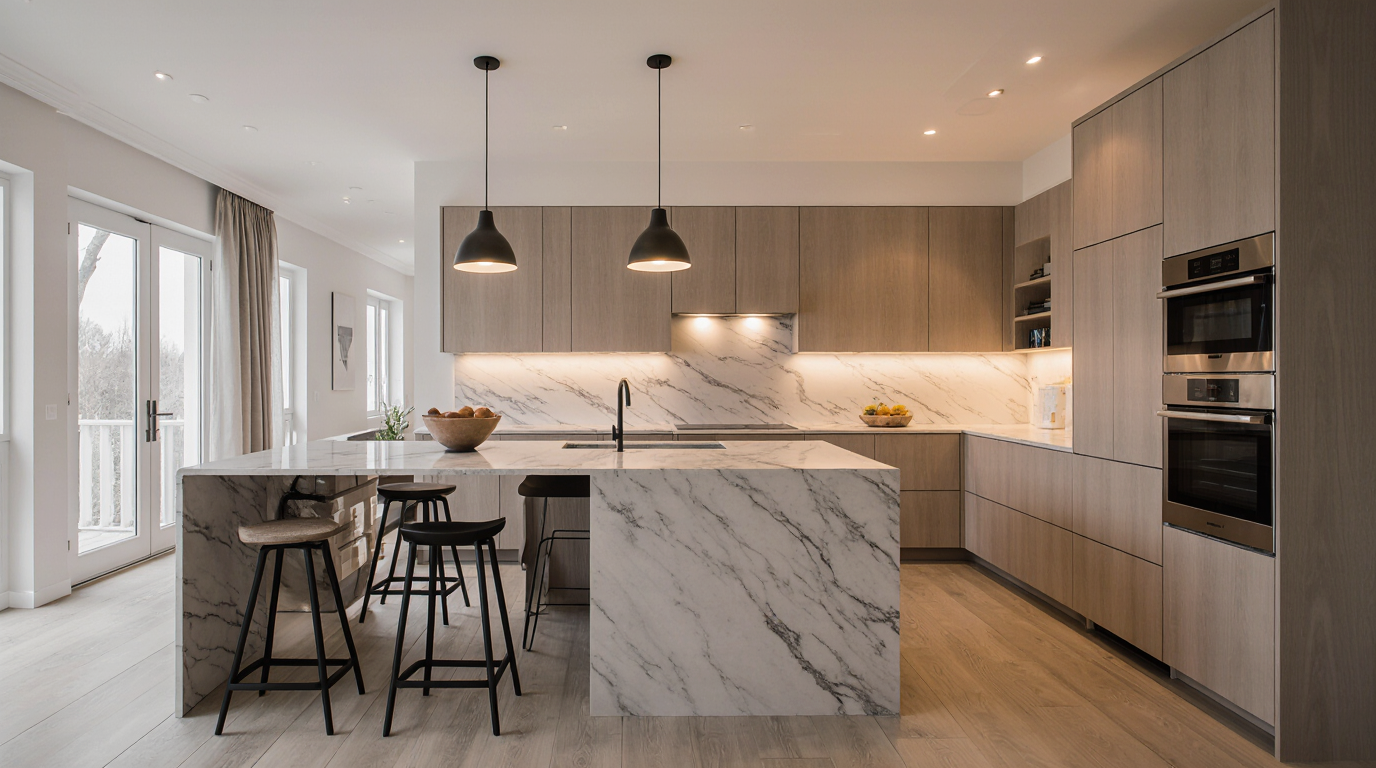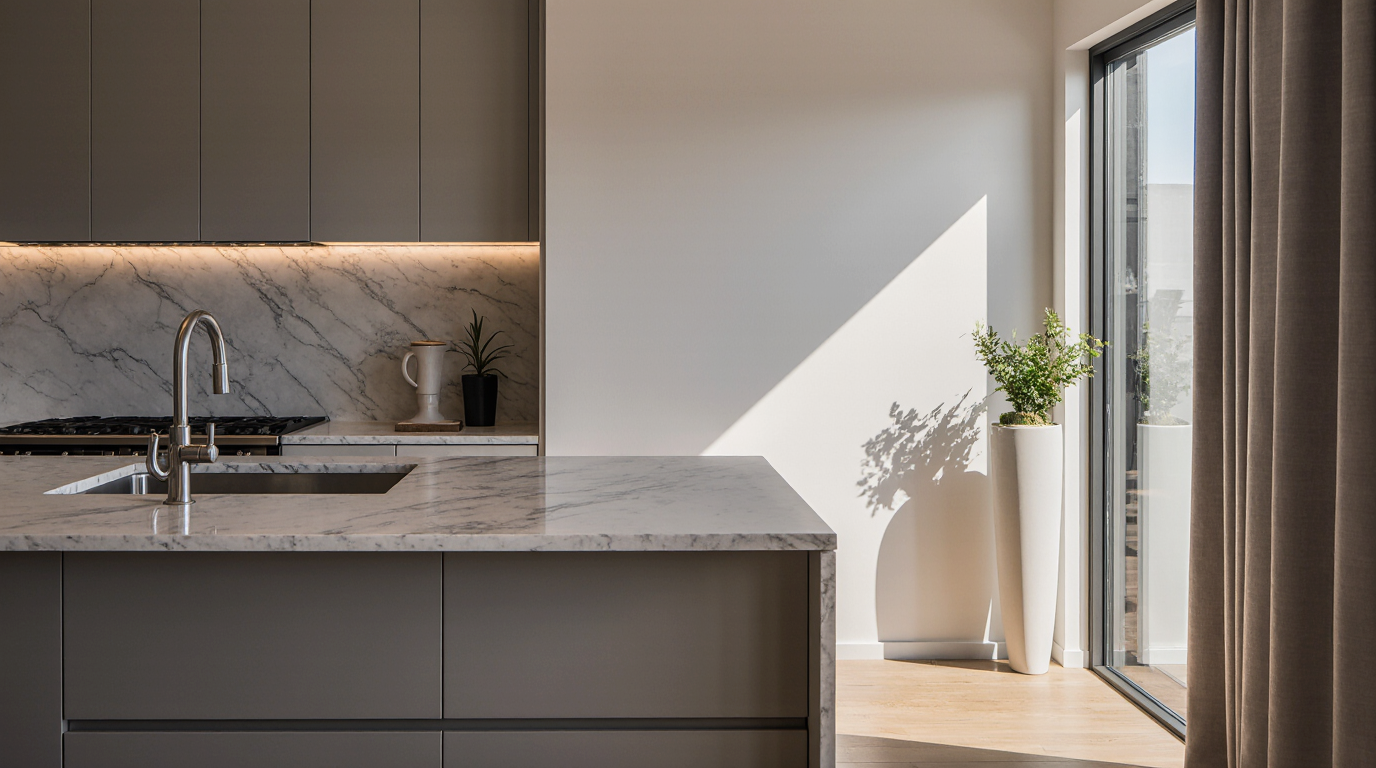
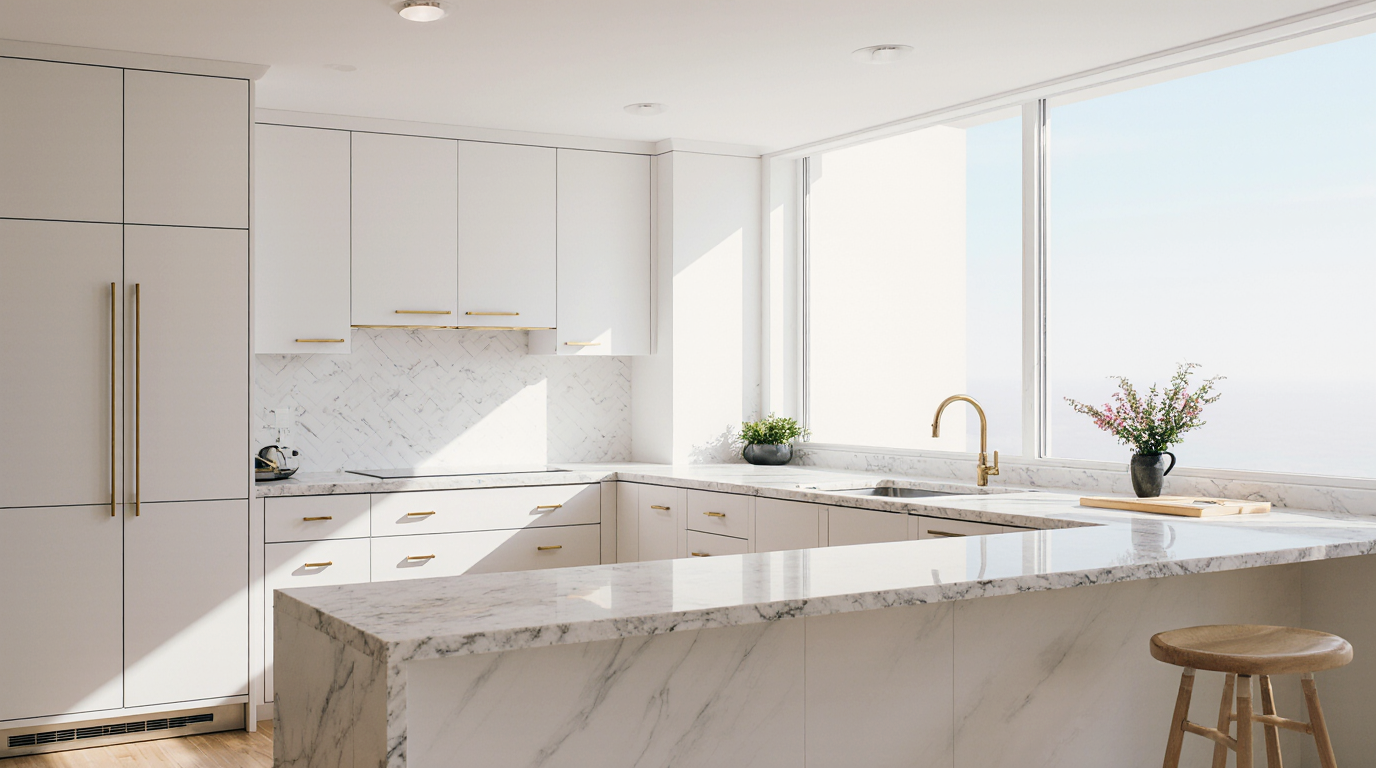
The client on Longboat Key was certain they wanted a classic, shaker-style white kitchen. They had photos, a clear vision, and a signed contract. The problem emerged six months after installation: a faint, but undeniable, yellowing appeared on the upper cabinets most exposed to the afternoon sun from their west-facing windows. The issue wasn't the contractor's workmanship; it was a material specification that overlooked the sheer intensity of Sarasota's UV exposure.
Executive Summary: The Sarasota White Kitchen Equation
From my direct experience managing remodels from Lakewood Ranch to Siesta Key, a successful white kitchen in this
From my direct experience managing remodels from Lakewood Ranch to Siesta Key, a successful white kitchen in this market is less about aesthetics and more about material science. The intense UV radiation and high humidity create a uniquely challenging environment. A design that works in a northern climate will often fail here within five years. The key is to prioritize materials engineered for coastal conditions over those that simply look good in a showroom.
- UV-Resistant Finishes: Standard paints and thermofoils will yellow. The non-negotiable choice is a high-quality, factory-applied catalyzed conversion varnish or acrylic finish with UV inhibitors.
- Core Material Stability: Humidity attacks MDF. For longevity near the coast, marine-grade plywood or solid hardwood frames are a necessary investment, preventing swelling and joint separation.
- Hardware Specification: Salt air corrodes standard hardware. Specify 304 or 316-grade stainless steel or a PVD (Physical Vapor Deposition) finished hardware to prevent pitting and rust that stains white surfaces.
- Lighting and Sheen: The bright Florida light interacts dramatically with surface sheen. A matte or satin finish is more forgiving than high-gloss, which can create harsh glare and highlight every imperfection.
Planning Failures That Compromise a White Kitchen
The most common errors I see in Sarasota kitchen projects happen long before demolition. They are planning and specification mistakes rooted in underestimating our local climate. Homeowners see a beautiful design online, sourced from a different region, and assume it's a simple matter of replication.
A frequent misstep is focusing the budget on appliances or a statement island while opting for standard, builder-grade white shaker cabinets to save money. This strategy backfires quickly. Those cabinets, often made with standard MDF and low-quality thermofoil, are the first point of failure. The seams start to peel from humidity, and the surfaces discolor, creating a perpetual state of dissatisfaction.
The Most Expensive Failure: Ignoring Window Orientation
The costliest mistake I've observed is failing to map the kitchen layout against the home's sun exposure. A client in an otherwise perfect remodel insisted on a specific cabinet line without a UV-inhibiting topcoat because it was available immediately. Their kitchen had large, west-facing windows. Within 18 months, there was a visible color difference between the sun-exposed uppers and the shaded lowers, a problem that is impossible to fix without a complete replacement of the door and drawer fronts.
How a Climate-Aware Remodel Works in Practice
A Sarasota-specific white kitchen remodel follows a distinct process, heavily front-loaded with material science discussions. The first step isn't about layout; it's about establishing a performance baseline for the finishes and materials based on the home's proximity to the water and its sun exposure. Only after these technical specifications are locked in do we move to design and aesthetics.
This approach often involves a deeper collaboration between the designer, cabinet maker, and even a window treatment specialist. The goal is to create an integrated system where the cabinets, countertops, and even window films work together to combat environmental stressors. The process feels slower at the start, but it prevents the costly callbacks and premature aging that plague so many local projects.
Selection Criteria for a Sarasota Homeowner
- Verify the Finish Warranty: Ask for the manufacturer's written warranty against yellowing and discoloration. A five-year warranty is minimum; a ten-year or lifetime warranty is a sign of a superior product.
- Demand Marine-Grade Plywood for Sink Bases: Insist that, at a minimum, the cabinet box for the sink and dishwasher is constructed from marine-grade plywood. This is a common point for leaks and moisture, and it’s where standard particle board fails catastrophically.
- Check HOA Covenants in Master-Planned Communities: If you're in a community like Lakewood Ranch or The Founders Club, your HOA's Architectural Review Board may have specific (and sometimes outdated) requirements for exterior-facing elements like kitchen windows, which can impact your overall design and lighting plan.
- Assess Ventilation Upgrades: A powerful, externally vented range hood is not a luxury here; it's a necessity. It removes cooking grease and, more importantly, moisture, which protects the white finishes from airborne deposits that are difficult to clean.
Comparing Cabinet Options for a White Kitchen
The choice of cabinet construction and finish is the single most important decision for a white kitchen in this region. While modular or stock cabinets can seem like a cost-effective route for a simple renovation, their materials often aren't specified for a high-humidity, high-UV environment. The cost of a new kitchen island, for example, can vary dramatically based on these unseen material choices.
Here’s a practical comparison based on projects I’ve managed in the Sarasota area.
| Feature | Stock/Modular Cabinets | Semi-Custom Cabinets | Full Custom Cabinets |
|---|---|---|---|
| UV & Humidity Resistance | Low. Often use thermofoil or vinyl wrap prone to peeling and yellowing. | Moderate to High. Can often upgrade to catalyzed varnish finishes and plywood construction. | Highest. Specified with marine-grade materials and premium, post-catalyzed finishes as standard. |
| Initial Cost | Lowest. Attractive for small kitchen upgrades or budget-focused projects. | Moderate. Typically 20-40% more than stock options. | Highest. Can be double the cost of stock cabinets. |
| Long-Term Value (10+ Yrs) | Poor. High likelihood of needing replacement or refinishing within 5-7 years. | Good. A solid investment that should hold up well with proper specification. | Excellent. Designed to last decades, adding significant resale value. |
| Design Flexibility | Limited. Fixed sizes and styles. | Good. Some modifications to size and finish are possible. | Unlimited. Built to any specification, fitting unique layouts perfectly. |
When a Full Custom Approach Is Not the Right Choice
A full custom, climate-engineered white kitchen is a significant investment. It's not the right path for everyone. If you are planning to sell the property within three to five years, the return on investment for premium, marine-grade custom cabinetry may not be fully realized. In this scenario, a well-chosen semi-custom line with a documented finish upgrade can provide a durable and beautiful kitchen that satisfies buyers without over-capitalizing on the property.
Safe Hiring and Specification Checklist
Ensuring your contractor understands the specific challenges of a Sarasota white kitchen is critical. Many general contractors are skilled builders but not material science specialists. It's your job to ask the right questions and verify their approach before signing a contract.
- Request a Specific Finish Sample: Don't accept a generic "white paint." Ask for a sample of the exact door style with the specified catalyzed varnish or acrylic finish and expose it to sunlight in your home for a week.
- Verify Florida Product Approval for Windows/Doors: If your remodel involves changing windows or doors, ensure the proposed products have a Florida Product Approval number, which verifies they meet our state's stringent hurricane-impact and wind-load requirements (a key part of the Florida Building Code).
- Confirm Contractor's License and Insurance: Use the Florida Department of Business and Professional Regulation (DBPR) portal to verify their license is active and they carry general liability and worker's compensation insurance. This is non-negotiable.
- Ask for a Local, Coastal Project Portfolio: Don't just look at pictures. Ask for addresses of projects completed at least three years ago on one of the barrier islands (Siesta, Lido, Longboat). This demonstrates their work can withstand the toughest conditions.
- Review the Hardware Specification Sheet: The proposal should explicitly list the material of all pulls, knobs, and hinges. Look for "304 Stainless Steel" or higher. If it just says "brushed nickel finish," it's likely a plated base metal that will corrode.
- Clarify the Plan for HOA Submittal: For condo or planned community residents, ask for the contractor's specific process and timeline for submitting plans to the design review board. Experienced local contractors have this process streamlined.
Decisions That Determine the Final Outcome
After managing dozens of these projects, I can tell you that the success of a white kitchen remodel here doesn't hinge on the brand of appliances or the pattern of the backsplash. It's determined by a few early, technical decisions that are often rushed. The most important is resisting the temptation to trade long-term material quality for short-term cost savings or aesthetic frills.
A client I worked with in The Lake Club had to make a tough choice: a premium custom cabinet package with a 15-year finish warranty or a less expensive package that allowed them to afford a high-end, built-in coffee maker. They wisely chose the cabinets. The coffee maker could be added later; a failing finish would have required tearing out the heart of their new kitchen.
The Exact Moment the Majority Gets It Wrong
The critical mistake happens when homeowners approve a cabinet proposal based on a 3D rendering and a small color chip. A rendering cannot show how a high-gloss finish will reflect the intense afternoon sun, creating blinding glare. A small chip doesn't reveal how a specific shade of white will look against your home's actual ambient light. Before you sign anything, you must get a full-size sample door and live with it in your space for several days, viewing it in morning, noon, and evening light.
Practical Answers About Remodeling in Sarasota
Navigating the local logistics of a remodel can be as challenging as the design itself. Here are the answers to the operational questions I field most often from clients in the Sarasota area.
What Is the Permitting Process Like in Sarasota County?
For a simple kitchen renovation that doesn't move walls, plumbing, or major electrical, a permit may not be required by Sarasota County. However, the moment you relocate an outlet, move a drain line, or alter a load-bearing structure, a permit is mandatory. A typical permit review for a straightforward kitchen remodel can take 4 to 6 weeks. It's crucial that your contractor handles this; working without a required permit can result in fines and work-stoppage orders.
How Do Condo Association Rules Impact the Project?
In the numerous downtown and beachfront condos, the association's rules are often more restrictive than the city's building code. They typically dictate work hours (e.g., 9 AM to 4 PM, no weekends), elevator usage for material transport, and require extensive insurance and indemnification from your contractor. Approval from the condo board can add another 30-60 days to your project timeline before any work can begin, a critical factor for seasonal residents.
Are There Specific Requirements for Homes in a V-Zone?
If your home is in a Coastal High Hazard Area or "V-Zone," common on the barrier islands, any substantial renovation triggers stricter Florida Building Code requirements. For kitchens, this can impact how cabinets are anchored to the wall structure to resist wind loads, and it mandates that all exterior-facing components like windows meet the highest impact-resistance standards. This is a life-safety issue and significantly influences project cost and complexity.