Beyond the Slab: Diagnosing the True Point of Failure in Sarasota Kitchens
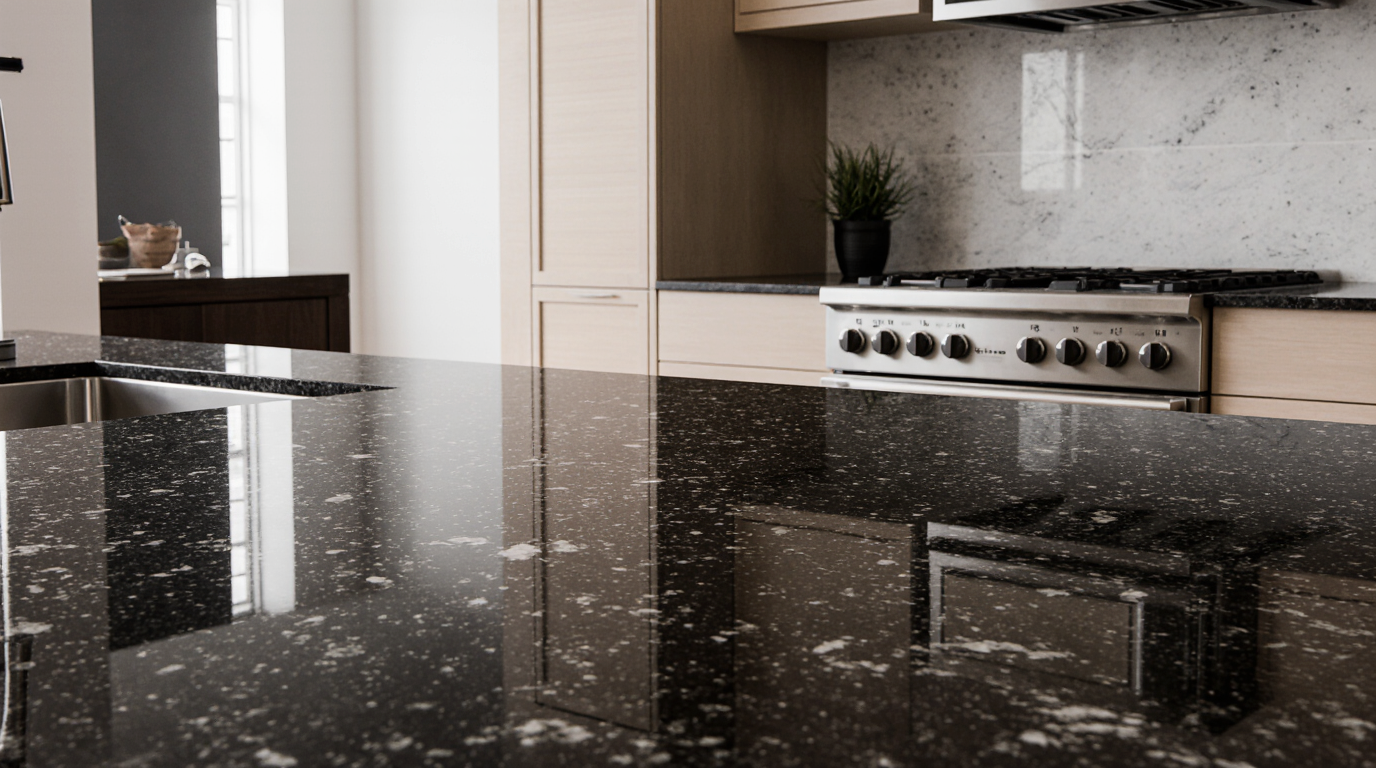
When a client shows me a sample of a stunning 'Azul Bahia' or 'Typhoon Bordeaux' granite, my attention immediately shifts downwards. While they see the color and veining, I see the immense weight—often over 1,500 pounds for a large island—that will be bearing down on the cabinet structure 24/7. In many Sarasota homes, especially older properties undergoing a renovation, the existing cabinetry is simply not engineered for this load. I’ve seen builder-grade boxes made from low-density particleboard start to compress and sag within five years, creating a stress point that inevitably telegraphs through to a hairline crack in the stone above.
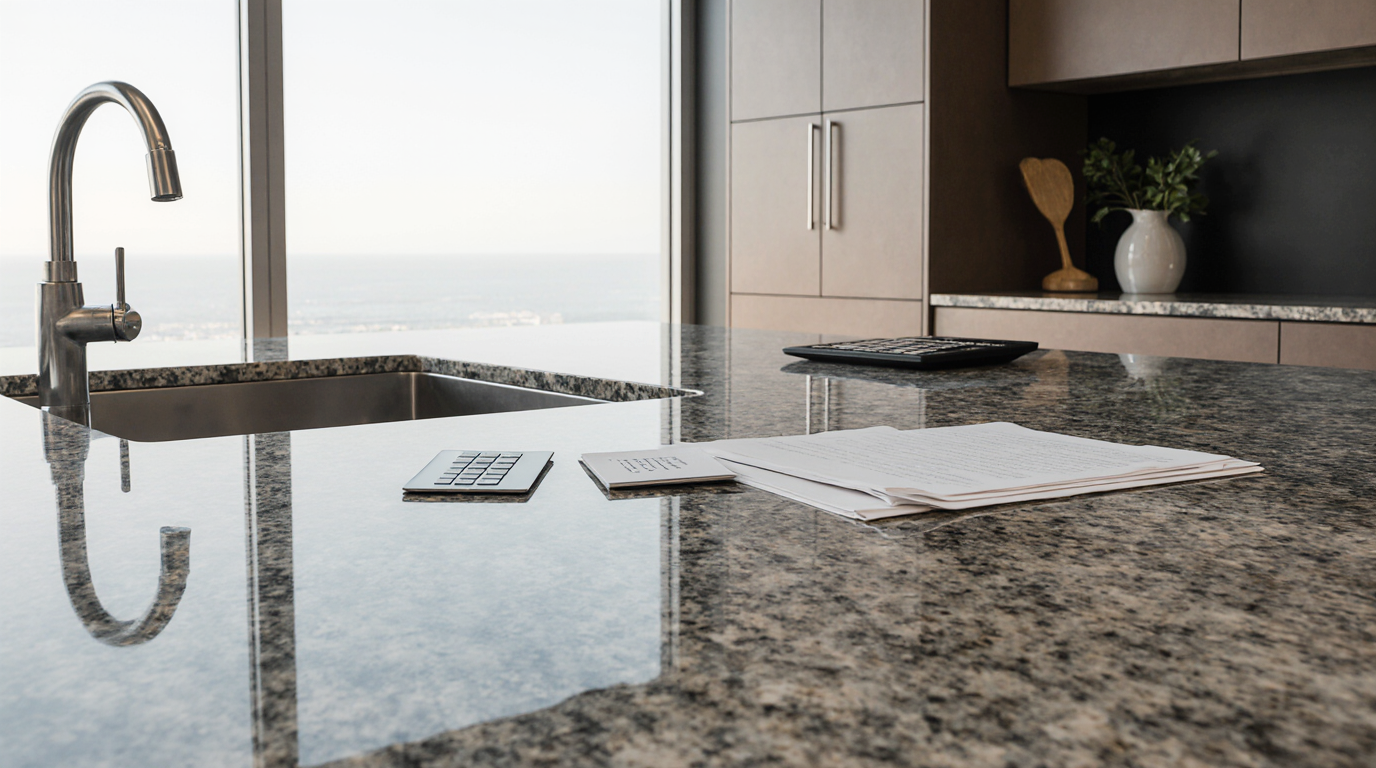
My diagnostic process begins with a load calculation and a moisture assessment, not a color consultation. Is the kitchen in a mainland Lakewood Ranch home with stable HVAC, or is it in a Lido Key condo where sliding glass doors are often open to the humid, salt-laden air? This environmental context dictates the entire engineering approach. A countertop installation is not just placing a slab; it's building a permanent, stable chassis capable of withstanding both the static load of the stone and the dynamic challenges of the Florida climate.
Material Specification Deep Dive: Plywood, Adhesives, and Sealing Protocols
The term 'plywood' is too generic for high-end cabinetry. My specification is explicit: a marine-grade plywood with a hardwood face veneer. The critical difference is the glue used in its lamination—a waterproof phenol-formaldehyde adhesive that is impervious to the delamination that plagues standard plywood in humid conditions. This material provides superior screw-holding power and compressive strength, essential for supporting heavy undermount sinks filled with water.
Furthermore, every cutout for a sink, faucet, or cooktop is a potential point of moisture ingress. My standard procedure involves sealing these raw plywood edges with a two-part marine epoxy. This creates a permanent, waterproof barrier that prevents water from wicking into the wood core. It’s a painstaking step that adds time to the fabrication process, but it single-handedly prevents the most common cause of cabinet failure I see: slow, undetected leaks that turn the cabinet base into a swollen, moldy wreck.
The Installation Framework: Leveling, Bracing, and Seam Engineering
A successful granite installation is a game of millimeters, achieved long before the stone enters the house. My process relies on precise planning and execution:
- Laser-Perfect Leveling: Before templating, I ensure the entire run of base cabinets is perfectly level, with a tolerance of no more than 1/16 of an inch over 10 feet. An unlevel base induces torque and stress on the granite, which is incredibly strong under compression but brittle under tension.
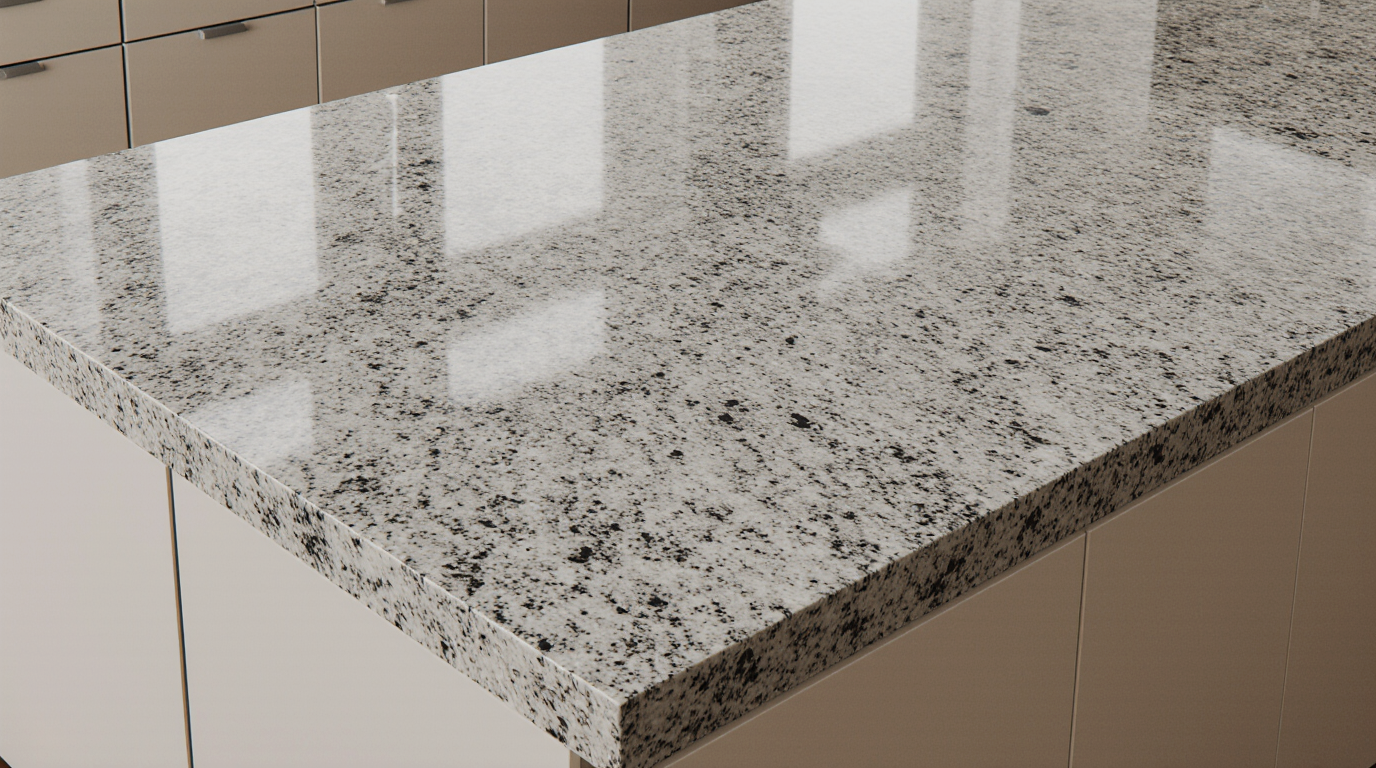
- Overhang Support Strategy: For island overhangs exceeding 10 inches, which are common in modern, open-concept Sarasota kitchens, I insist on discrete steel L-brackets or custom-fabricated corbels tied directly into the cabinet framing. Relying on wood alone for these spans is a recipe for sagging and potential catastrophic failure.
- Strategic Seam Placement: I design seams to be as inconspicuous as possible, but their placement is a structural decision, not just an aesthetic one. Seams are always located over vertical cabinet supports and are kept away from the high-stress zones around sinks and cooktops. I use high-end, flexible epoxies for bonding, which allow for micro-movements as the house settles, preventing the seams from cracking over time.
Precision Templating and Final Fitment Standards
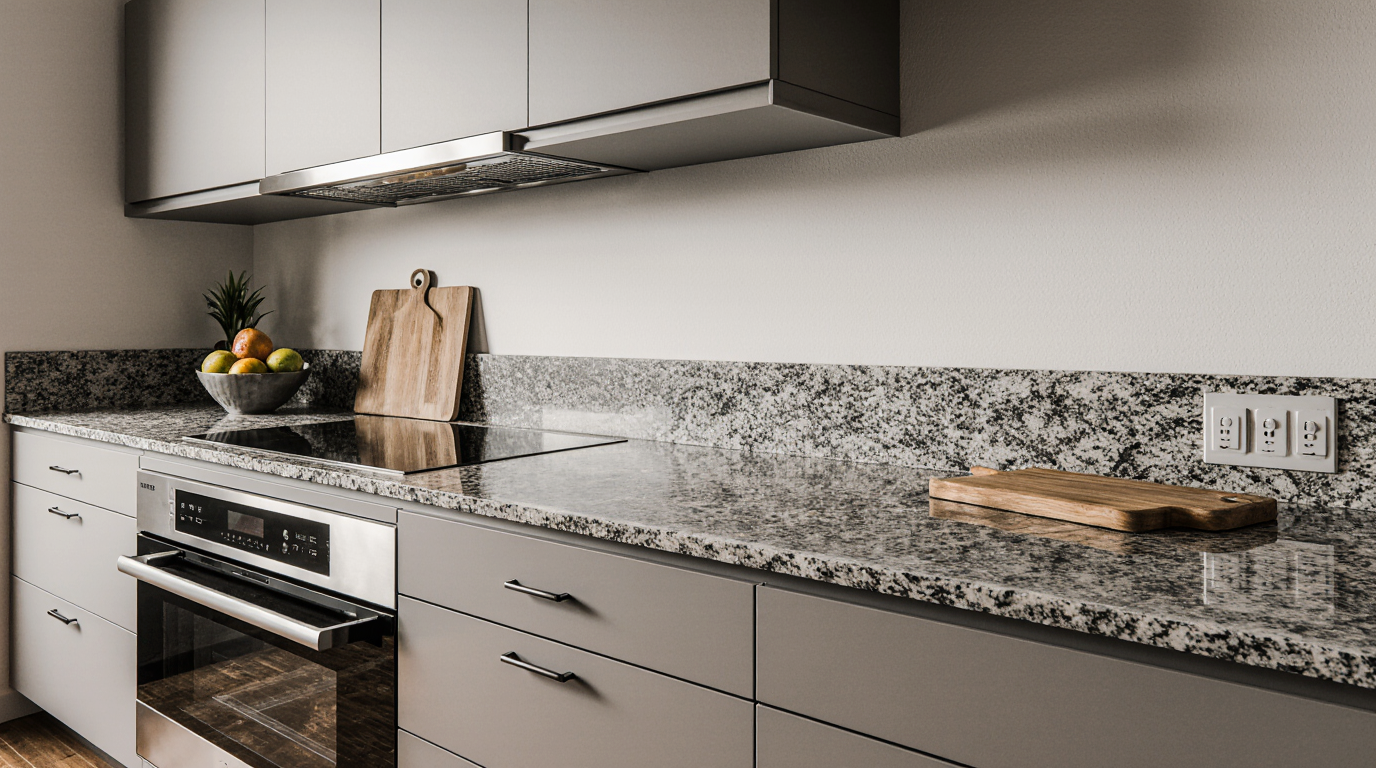
We utilize digital templating technology to capture the exact dimensions and unique conditions of the space, including wall undulations. This ensures the final granite pieces are fabricated with extreme precision, minimizing on-site adjustments and guaranteeing tight, consistent gaps. The final step is sealing the joint between the countertop and the backsplash. I use only 100% silicone sealant with integrated mildewcide. Unlike cheaper acrylic latex caulks that will shrink, crack, and discolor in our humidity, this pure silicone seal provides a durable, waterproof, and flexible joint that completes the installation to a higher standard.
Before you commit to a granite installer, have you asked them to detail their specific protocol for leveling the cabinetry and sealing the raw wood at every sink and cooktop cutout?