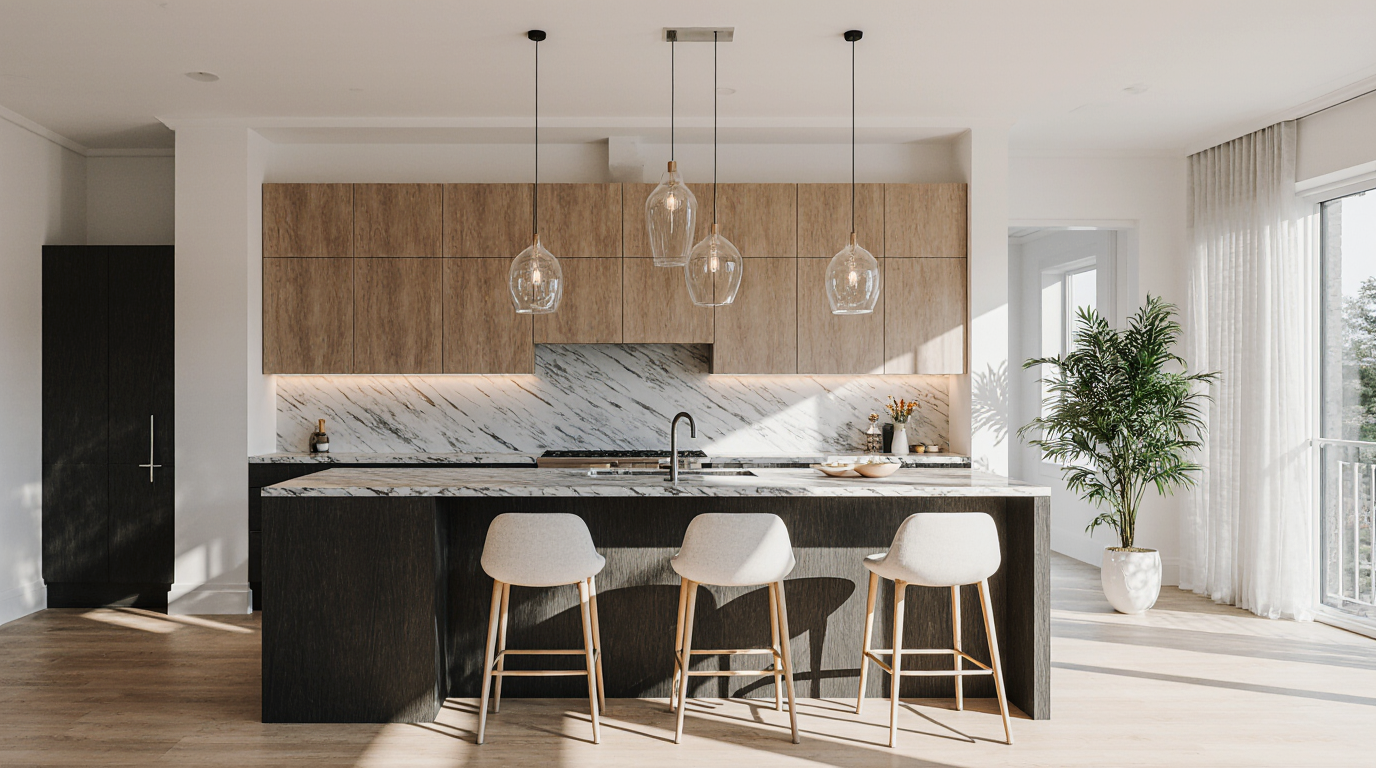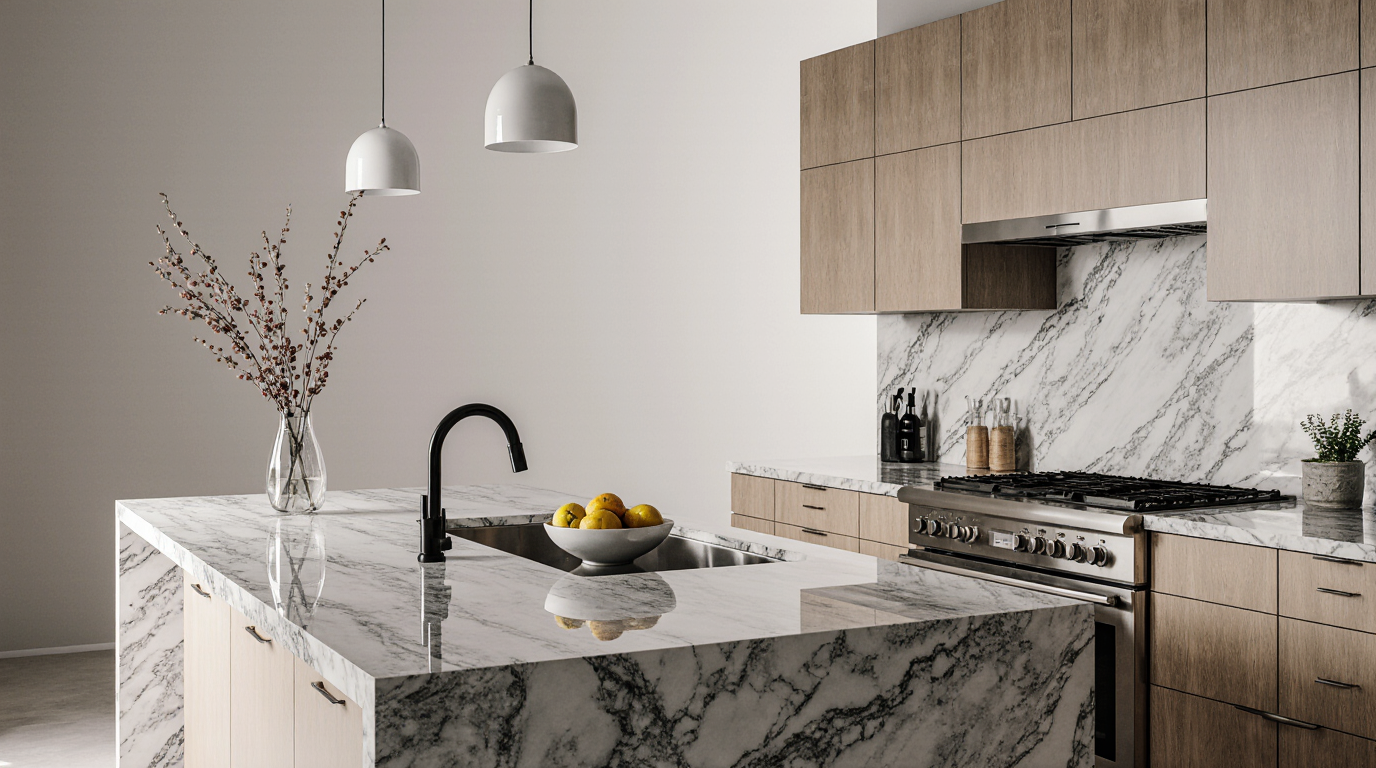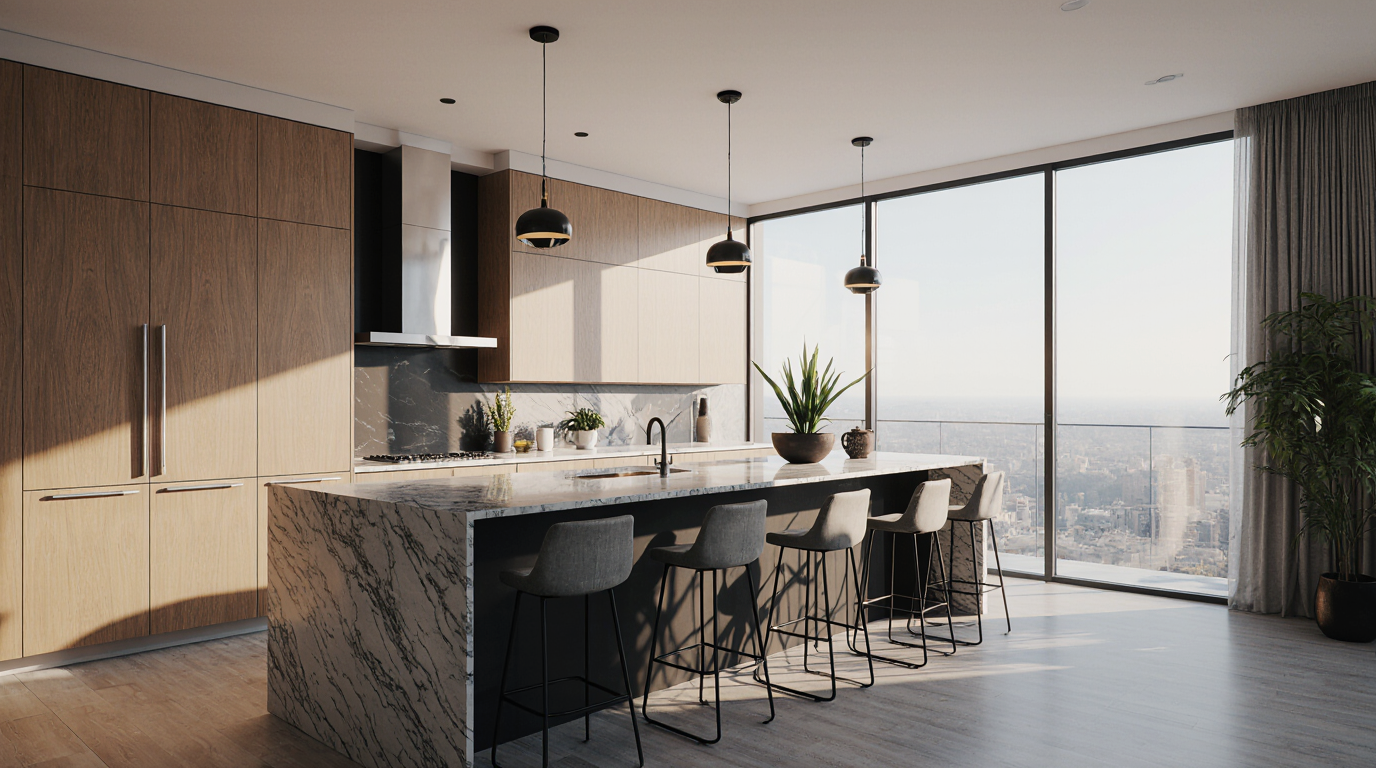
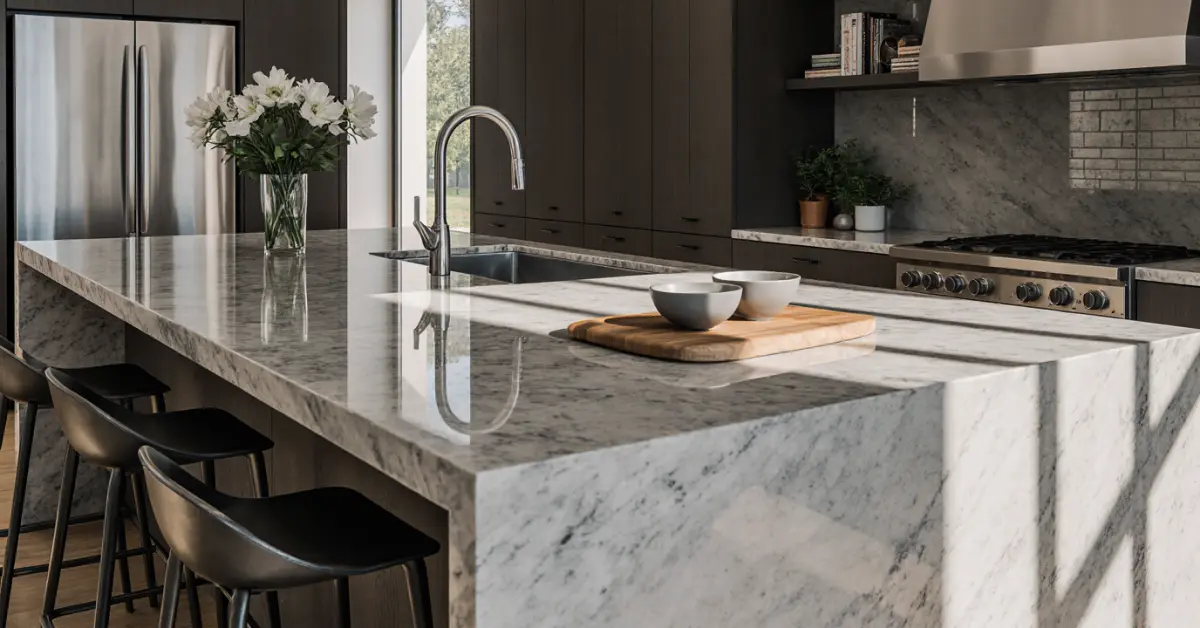
Why do so many stunning, expensive custom kitchen islands in new Sarasota homes start looking tired and dated within five years? The issue is rarely the quality of the stone or the skill of the installer. The failure happens months earlier, during planning, when the island is designed as a standalone piece of furniture instead of as the functional hub of a coastal Florida lifestyle, subject to intense UV light, humidity, and a constant flow between indoor and outdoor living spaces.
Executive Summary: The Sarasota Island Countertop
From my direct experience executing projects in Sarasota, the success of a custom island countertop hinges less on the
From my direct experience executing projects in Sarasota, the success of a custom island countertop hinges less on the material itself and more on how it's engineered for our specific environment. It's about designing a functional centerpiece that withstands high humidity, resists UV fading from large lanai doors, and supports an entertainment-focused lifestyle. The most common oversight is underestimating the sheer scale and multi-functionality required, leading to islands that are either too small for entertaining or made from materials that can't handle the wear and tear of a true indoor-outdoor hub.
- UV Exposure is Non-Negotiable: Sunlight streaming through large glass doors, especially in waterfront homes on Lido Key or Bird Key, will fade certain materials and sealers. Material selection must prioritize UV stability.
- Humidity and Salt Air Impact: Porous materials like certain marbles or unsealed granites can be problematic. The ambient moisture and salt content in the air, particularly west of the Trail, demand non-porous surfaces and robust sealing.
- Scale and Functionality are Key: Sarasota kitchens, especially in new construction in areas like Lakewood Ranch, are designed for entertaining. The island must accommodate seating, prep space, and sometimes appliances, demanding larger, seamless slabs and complex fabrication.
- HOA Design Review is a Timeline Factor: In many planned communities, countertop material and even edge profiles may require approval from an Architectural Review Board, a process that can add 30 to 60 days to your project timeline before fabrication can even begin.
The Planning Failures That Compromise Your Island
The most significant mistakes I see are rooted in a disconnect between the aesthetic vision and the practical demands of the Sarasota environment. Clients fall in love with a photo from a magazine based in a different climate, and the conversation starts with looks, not performance. This often leads to regret when the beautiful, porous stone starts showing water rings or the dark-colored quartz heats up excessively from the sun.
The Most Expensive Failure: Ignoring the 'Seam Plan'
The costliest error is selecting a slab size or island design that forces an awkward or highly visible seam. A client in a bayfront home on Longboat Key wanted a massive 14-foot island but chose a stunning bookmatched marble available only in 10-foot slabs. The failure was not in needing a seam, but in not designing its location from the start. The seam ended up in the middle of the main prep area, creating a visual and functional disruption that ultimately devalued the multi-thousand-dollar investment. A proper seam plan, designed before the stone is even ordered, integrates seams along appliance cutouts or transitions in island levels, making them virtually disappear.
How a Custom Island Project Unfolds in Sarasota
A custom island project is a multi-stage process involving more than just a fabricator. It requires coordination between your designer, contractor, and the stone supplier. The process begins with a detailed site measurement after the base cabinets are installed, not before. This ensures a perfect fit, accounting for any inconsistencies in walls or cabinets. From this template, the fabricator lays out the design on the actual slab you've selected, allowing you to approve how the stone's natural veining will flow across the surface and down any waterfall edges.
Material Selection Criteria for Sarasota Homeowners
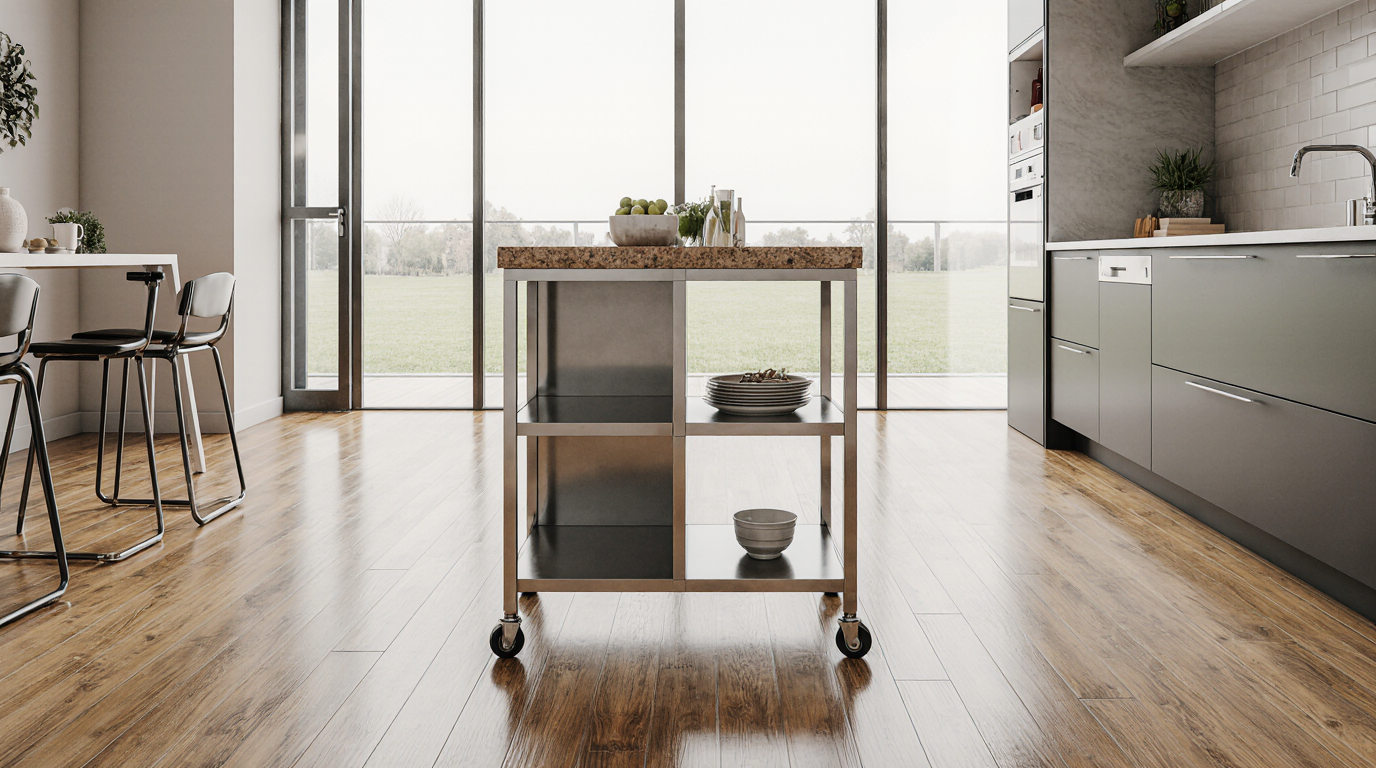
Choosing the right material here is about balancing aesthetics with resilience. A rolling countertop island for a small condo in Downtown Sarasota has different needs than a massive fixed island in a coastal home.
- UV Resistance: If your island will get direct sun, engineered quartz is often superior to many natural stones and resins that can yellow. Light-colored granites also perform well.
- Porosity and Stain Resistance: For a home focused on entertaining with wine and citrus, a non-porous surface like quartz or a well-sealed, dense granite is critical.
- Salt Air Tolerance: For homes on the barrier islands, avoid materials with high iron content that can rust or oxidize over time, causing spotting within the stone.
- HOA Compliance: Check your community's covenants. Some HOAs in places like The Founders Club have specific restrictions on countertop materials and reflectivity to maintain neighborhood aesthetic standards.
Comparing Materials for Your Sarasota Island
The choice between quartz, granite, and other surfaces is a trade-off between natural beauty, maintenance, and durability in our specific climate. There is no single “best” option; there is only the best option for your lifestyle and location.
| Feature | Engineered Quartz | Granite | Marble |
|---|---|---|---|
| UV Stability | Excellent (especially lighter colors) | Good to Excellent | Poor (can yellow/discolor) |
| Stain Resistance | Excellent (non-porous) | Good (requires sealing) | Poor (etches and stains easily) |
| Heat Tolerance | Good (can be damaged by extreme heat) | Excellent | Good |
| Maintenance in Sarasota Climate | Low | Moderate (periodic re-sealing) | High (prone to etching from humidity/salt) |
When a Fully Custom Slab is Not the Right Choice
A full custom slab isn't always the best path. If you're on a tight budget, have a standard-sized island, or need a quick turnaround for a rental property, exploring remnant pieces or pre-fabricated island tops for sale can be more practical. The trade-off is a lack of choice in veining and layout, and you may not get the perfect fit. For a primary residence where the island is a focal point, the control offered by a custom project is almost always worth the investment.
Safe Hiring Checklist for Your Sarasota Project
Vetting a fabricator here requires looking beyond the showroom. You need a partner who understands the nuances of coastal construction and the local supply chain.
- Verify their license with Sarasota County and check their liability and workers' compensation insurance. It's a basic step many people skip.
- Ask to see a project they installed at least three years ago in a waterfront setting to assess how their sealing and seam work has held up to the salt and sun.
- Confirm they perform digital templating. This technology captures precise dimensions, which is critical for complex islands with sinks, cooktops, and waterfall edges.
- Discuss their process for handling material from suppliers in Tampa or Fort Myers. Delays in slab transportation are a common bottleneck in this region.
- Clarify their policy on remnants. Will you get to keep the leftover pieces of your expensive slab? This can be valuable for future projects like a vanity top or shelving.
- Ensure the contract specifies the grade of sealer to be used, especially for granite. A high-quality, 15-year sealer is a wise investment here.
- Ask how they anchor oversized islands to meet Florida Building Code requirements, especially in new construction within wind-borne debris regions.
Decisions That Determine the Final Outcome
The success of your custom island is locked in by a few key decisions made early on. The first is choosing your actual slab in person, not from a small sample. The color and veining of a natural stone like granite can vary dramatically across a single slab. The second is finalizing all appliance and fixture selections before the countertop is templated. Changing a sink or cooktop model after templating will, at best, cause delays and, at worst, require a new slab.
The Exact Moment When the Majority Gets It Wrong
The most common strategic error I see is designing the kitchen layout and cabinets completely before even considering the countertop material. Homeowners and even some designers treat the countertop as a finishing touch. The correct approach is to provisionally select your island countertop material *at the same time* as you design the cabinet layout. Knowing the standard slab size of the granite or quartz you love can influence the island's dimensions to avoid seams, saving thousands and preventing major design compromises. It's a simple shift in sequencing that changes everything.
Practical Answers About Operations in Sarasota
Navigating a custom project involves understanding local logistics and regulations that are unique to our area.
What is the HOA Approval Process Like in Lakewood Ranch?
In master-planned communities like Lakewood Ranch, any exterior-facing modification, which can include a kitchen visible through large windows, may require Architectural Review Committee approval. For an island countertop, this is less common unless it's part of a major renovation. However, for the renovation itself, you'll submit plans, material samples, and contractor information. Expect a review period of 30-45 days. Starting work without this approval can result in fines and work-stoppage orders.
How Does the Florida Building Code Affect My Island Installation?
For oversized or heavy islands, especially those with stone waterfall legs, the Florida Building Code has implications for structural support and anchoring. Your installer must ensure the subfloor can handle the weight concentration. Furthermore, in high-velocity hurricane zones (which includes all of Sarasota), securing cabinetry and, by extension, the heavy countertop, is critical to prevent them from becoming projectiles in a storm. Your installer should be well-versed in these anchoring requirements.
Are There Logicistical Challenges with Sourcing Stone in Sarasota?
Yes. While Sarasota has excellent local fabricators, the largest slab yards and distributors are often in Tampa. This means there's a logistical step of selecting your slab in Tampa and having it transported to your Sarasota fabricator. I've seen projects delayed by a week or more due to transport scheduling. It's crucial to confirm that your fabricator has inspected the slab for defects at the distributor *before* it's shipped to avoid discovering a crack or fissure just as fabrication is about to begin.